
The 3D Printing Process: What to Expect
The 3D Printing Process: What to Expect
When You’re Expecting a Part
Need flawless 3D prints without expensive surprises? Industrial additive manufacturing relies on one golden rule: we print strictly to your file. Our quick guide breaks down CAD file prep, spot-on 3D printing workflows, and simple habits that guarantee your custom parts arrive perfect on attempt number one.
The Golden Rule: We Print to File
When you hand off a digital design to an industrial 3D printing service bureau, production relies on one simple rule: print to file. Modern additive manufacturing equipment translates your digital file into a solid object with total precision. Technicians examine geometries for structural integrity and flag obvious flaws, but proper 3D printing file prep remains your primary responsibility. Service bureau teams cannot read minds—no matter how much our families wish we could. We cannot guess which features belong on your finished component. If a design detail missing from your CAD file for 3D printing, the printer simply skips it.
The Tale of the Nameless Apple
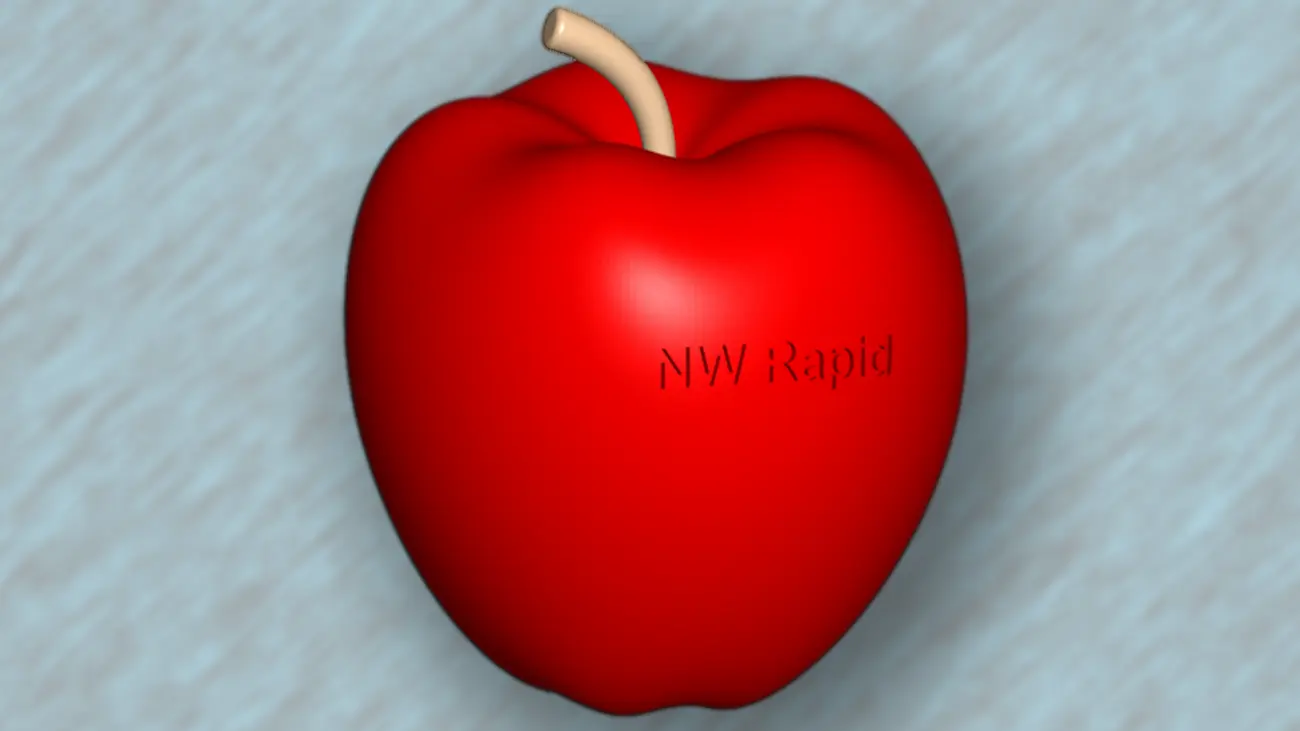
Picture this scenario: you need a custom 3D-printed apple with your brand logo cleanly engraved across the surface. You submit a colorful reference drawing alongside your digital CAD model. However, your actual SLS 3D printing file features a smooth, plain sphere. That simple oversight guarantees you receive a completely blank apple every single time. 2D reference sketches communicate visual goals, but production technicians never modify native CAD files without explicit approval. Catching design omissions before starting the build saves real money and protects your timeline. Triple-check every digital file before submission so your custom parts arrive exactly as envisioned.


How to Guarantee Flawless 3D Prints Every Time
Unlocking smooth results from rapid prototyping comes down to direct communication and careful additive manufacturing CAD preparation. Inspect every thread, chamfer, and label inside your model before hitting upload. Share clear dimensional drawings, highlight tight tolerances, or call our team directly to discuss specific SLS 3D printing guidelines. If your project requires our engineers to tweak features or repair broken surface geometry, we will review those adjustments with you before starting the build. Flawless 3D CAD geometry combined with explicit instructions guarantees perfect physical parts on the first attempt.
Clear communication turns complex additive manufacturing into a smooth, hassle-free process. Ready to start your next build? Contact our team today or upload your CAD files to request a quote.