
How to Talk to Your Kids About 3D Printing

How to Talk to Your Kids About 3D Printing
(A Parent’s Survival Guide)
It’s time for a quick chat with Northwest Rapid Manufacturing! To help you introduce your children to the world of additive manufacturing, here is a friendly, stress-free 3D printing guide for kids straight from our engineering team.
When difficult parenting conversations pop up, we usually rely on personal experience to steer the discussion. “The Birds and the Bees?” If you’re a parent, odds are you have at least a working knowledge of the subject. But 3D printing for kids? Where do you turn? What sources are actually trustworthy?
Relax! Your friends at Northwest Rapid are here to help you navigate the jargon. Consider this your handy additive manufacturing for students primer—a straightforward guide to the exciting technology shaping your child’s future.
When Should You Introduce 3D Printing?
First, let's talk timing. If your child asks questions, jump right in! If they haven’t brought it up yet, wait until they encounter STEM education (Science, Technology, Engineering, and Math) at school.
There is no need to push, but you certainly don’t want your kid left behind—or worse, out-nerded on the playground by the children of aerospace engineers. Let's learn how 3D printing works step by step.
What Does 3D Actually Mean?
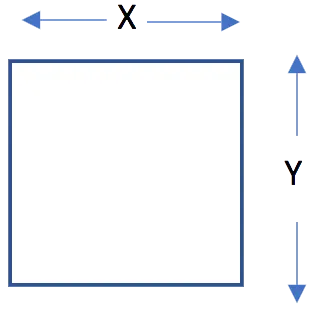
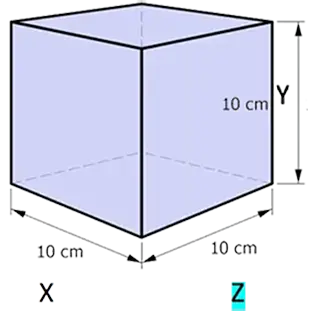
“3D” stands for three-dimensional. In simple terms, it adds depth to length and width. Think of it as the difference between a flat painting of the Easter Bunny and a chocolate Easter Bunny:
-
Turn the painting over, and you see blank canvas.
-
Turn the chocolate bunny over, and you see its tail.
-
(And then you bite its ears off. Yum.)
How Does 3D Printing (Additive Manufacturing) Work?
To stick with our chocolate bunny example, let’s compare traditional printing to 3D printing tech.
-
2D Printing: Creates a flat paper copy of our bunny painting, suitable for hanging on the wall.
-
3D Printing (Additive Manufacturing): Builds a physical object layer by layer.
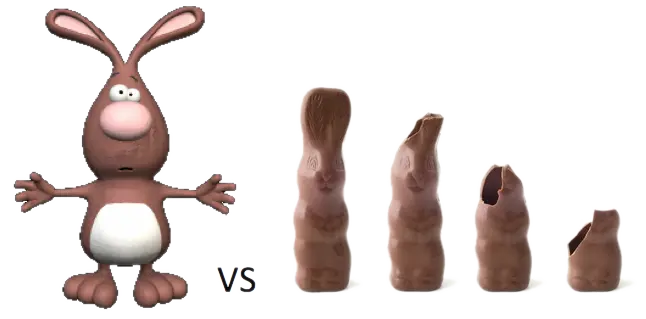
To 3D print a chocolate bunny, you first need a 3D CAD file created via software or a 3D scanner. Next, you send that file to a 3D printer, which “slices” the digital design into hundreds of ultra-thin cross-sections. The machine then deposits material—layer by layer—until a solid bunny appears.
(And yes, chocolate 3D printers actually exist!)
Additive vs. Subtractive Manufacturing: The Nerd-Out Corner
In traditional manufacturing, workers start with a solid block of material and cut away what they don't need—like carving a statue. This is called subtractive manufacturing.
Additive manufacturing does the exact opposite. It builds complex parts from scratch by adding material only where needed. This process reduces material waste, allows for rapid prototyping, and makes custom geometry much easier to produce.
How to Turn an Idea into a 3D Printed Object
Before printing anything, you need a digital 3D model. In technical terms, a ‘model’ here refers to a digital software file on a computer—not a physical miniature toy car. This model can be designed in CAD software, created using 3D sculpting tools, or generated from a 3D scan.
Because the printer needs spatial data for length, width, and depth, you can't create a 3D model from a single 2D picture. To generate digital 3D files, you have two primary options to choose from:
- TinkerCAD (Great for kids and beginners)
- 3D Slash & SketchUp (User-friendly)
- Blender (Free, open-source 3D creation)
- SolidWorks (Industrial-grade software used by our team)
PRO-TIP: Look for software that exports to STL file format, which is the universal standard for 3D printing.
Selecting the Right 3D Printing Materials and Technologies
Once your design file is ready, you need to select your material. The best material depends entirely on how the final part will be used.
Common industrial and desktop 3D printing materials include:
- PLA & ABS: Great for low-cost plastic prototypes
- Nylon 11 (SLS): Highly ductile, impact-resistant, and ideal for flexible, high-fatigue engineering parts.
- Nylon 12 (SLS): Durable, functional, and ideal for engineering components.
- Rubber-Like / Flexible Resins: Ideal for gaskets, seals, and tactile grips.
- Transparent Polymers: Perfect for fluidics, light pipes, and clear enclosures.
Your material choice dictates the 3D printing process needed—such as Selective Laser Sintering (SLS), FDM (Material Extrusion), or SLA (Vat Photopolymerization).
Finding the Right 3D Printing Service Bureau
If you don't own an industrial 3D printer, you can partner with a **3D printing service bureau** to manufacture your design.
When choosing a manufacturing partner, keep these industry tips in mind:
- Ask Where Parts Are Made: Some brokers re-route orders to third-party suppliers, which can increase turnaround times and costs. Working directly with an on-site manufacturer ensures better quality control.
- Compare Quotes: Prices for custom prototyping can vary widely. Request quotes from a few different suppliers.
- Check File Review Policies: Most automated platforms "print to file"—meaning if your 3D design has structural flaws, the machine will print those errors anyway. Look for suppliers offering pre-print engineering reviews.
- Understand Custom Return Policies: Because every 3D printed part is custom-built to your exact specifications, traditional returns are rarely offered unless a machine error occurs.
- Design for Manufacturability: 3D printing is powerful, but it isn't magic. Be open to design recommendations from application engineers to optimize your final result.
Ready to Bring Your Ideas to Life?
Your child’s curiosity about technology, engineering, and digital manufacturing is natural and exciting. Whether they build simple toys or dream up future innovations, understanding additive manufacturing offers a solid foundation for tomorrow's careers.
Have technical questions or need help bringing a custom project to life? Contact Northwest Rapid Manufacturing's engineering team or request a custom quote today to get expert advice on your next project!