
Essential Design Guidelines for SLS 3D Printing
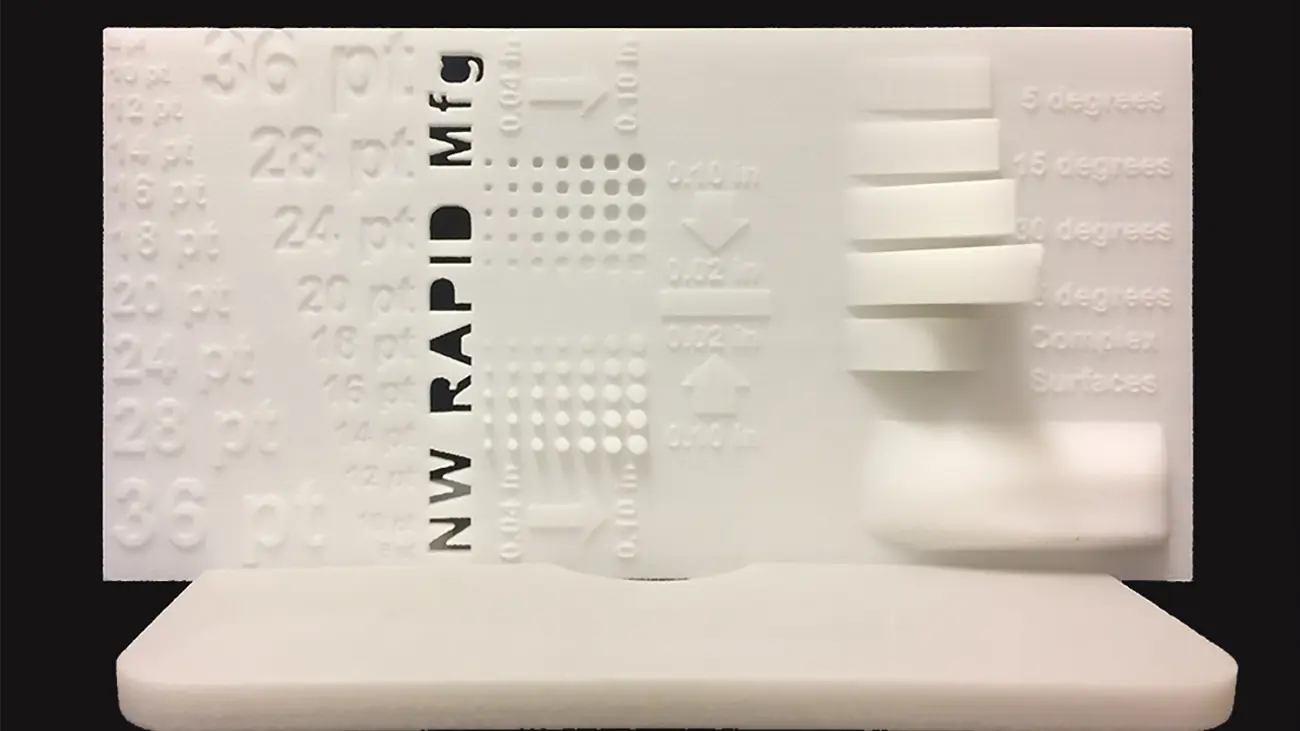
Essential Guidelines for Flawless SLS 3D Printing
One of the powerful aspects of 3D printing is its ability to print almost anything. Let's discover some simple design tips for intricate SLS 3D printing.
Selective Laser Sintering (SLS) feels a bit like magic. Unlike traditional manufacturing, additive manufacturing lets you build almost anything you can imagine. But let’s be real—your first draft isn't always ready for the print bed. To save you time, headaches, and a bin full of melted polymer, follow these proven design guidelines for SLS 3D printing.
Make Your Text Readable
Adding text to your 3D printed parts? Keep it clean. Skip the fancy scripts and stick to a sturdy sans-serif font like Arial. Bold the text so it truly pops. Size matters here, so aim for the sweet spot between 18 and 26 points. Finally, check your CAD design settings. You want recessed text plunging at least 0.8 mm deep, while raised text needs to stand proud at 0.5 mm or higher.
Design Perfect Circular Holes
Holes can be tricky in rapid prototyping. For a vertical build orientation, keep the hole diameter at least 1.5 mm. If you are printing horizontally, bump that minimum diameter up to 2.0 mm. Want the crispest resolution possible? Design your parts with vertically oriented holes and keep the surrounding material relatively thin.
Nail Your Walls, Pins, and Gears
Flimsy walls cause structural nightmares. Always maintain a minimum wall thickness of 1.0 mm. For the absolute best machine accuracy, orient those thin walls for plane-by-plane building.
Need pins? Make sure they have a minimum diameter of 1.0 mm. The good news is they print beautifully in either vertical or horizontal orientations. Printing gears is incredibly satisfying when done right, too. Just keep the distance between each gear tooth between 0.5 and 1.0 mm, and lock in a 1.0 mm shaft clearance.
Bring Your Design to Life
Stick to these rules, and your parts will practically print themselves. If you need a specific finish, we can always tweak components after printing using traditional machining tools. For additional specifications check out our full design guideline's page.
If your design is still putting up a fight, don't stress. The engineering team at NW Rapid will work directly with you to dial in the exact product you need. Ready to hit print? Request a quote and upload your file today!